
The following procedure provides details on creating a dSource with seed ingestion type.
Prerequisites
The source and staging instances must meet the host requirements as described in Requirements for CockroachDB Staging/Target hosts.
Creating dSource
-
Login to Delphix Management application.
-
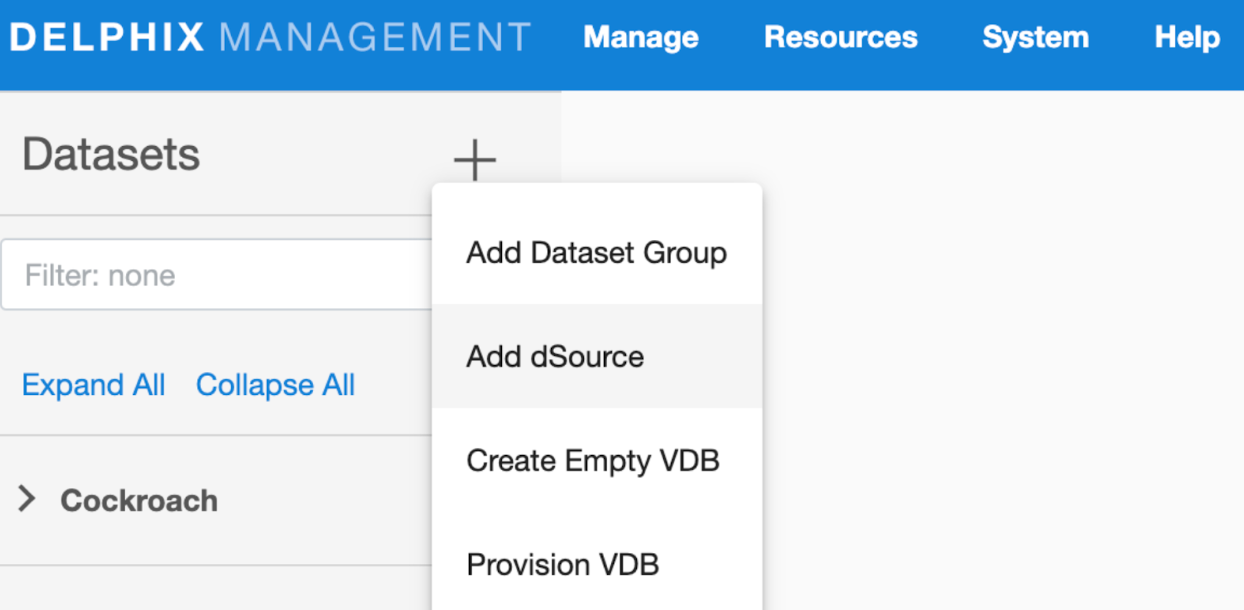
Click Manage > Datasets
-
Click on Add dSource.
-
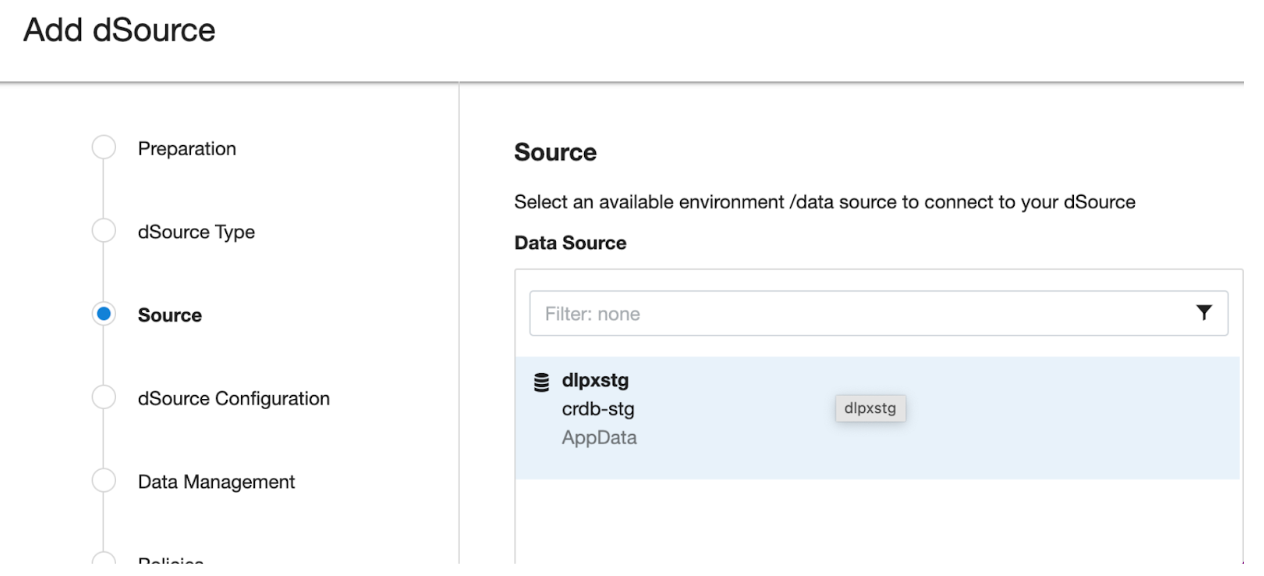
In the Add dSource wizard, select the CockroachDB source config you just created on the staging host.
-
Select the dSource type from the drop-down available on dSource wizard. Refer different dSource Types.
-
Enter the CockroachDB specific parameters for your dSource configuration.
-
dSource Type Type of dSource
-
dSource (Seed) Details.
-
Mount Path The path on the host where Delphix will mount the dSource files via NFS.
-
IP Address / Hostname of the Staging Cluster IP Address / Hostname of the interface for the staging Cluster (default 127.0.0.1).
-
Staging CockroachDB Port Number Staging DB port for cluster’s inter-node communication.
-
Staging CockroachDB Console Port Number Staging Console port for HTTP requests.
-
Secure Mode Option to run the CockroachDB server in secure mode.
-
Certificate directory path The absolute path to the certificate directory, it must have valid certificates containing the IP address or hostname for the CockroachDB server.
-
You must specify the input “Certificate directory path” when “Secure Mode” option is selected.
-
For more detailed guidance on CockroachDB certificate generation, refer to the official documentation: CockroachDB Certificate Generation.
-
-
CockroachDB Cluster Node Count Number of nodes that consists of Staging CockroachDB cluster. Minimum: 3 and Maximum: 9
-
CockroachDB Parameters These are node-level configuration parameters passed as command-line arguments when starting the CockroachDB process.
Example:
--max-sql-memory=0.25, --cache=0.25-
Parameter Name CockroachDB Cluster configuration parameter name.
-
Parameter Value CockroachDB Cluster configuration parameter value.
-
-
CockroachDB Cluster Parameters These are cluster-wide settings applied after the cluster is initialized using the SET CLUSTER SETTING command.
Example:
SET CLUSTER SETTING kv.bulk_io_write.restore_node_concurrency = 8-
Cluster Parameter Name:CockroachDB cluster-level configuration parameter name.
-
Cluster Parameter Value: CockroachDB cluster-level configuration parameter value.
-
-
Additional Nodes: Specify the node configuration for each node the CRDB cluster.
-
Environment Select environment on which node has to be created.
-
Environment User Select environment user corresponding to the environment.
-
IP Address / Hostname IP Address / Hostname of the interface for the staging node(default 0.0.0.0)
-
CockroachDB Port Number Staging DB port for node’s inter-node communication
-
CockroachDB Console Port Number Staging Console port for HTTP requests
-
Certificate directory path The absolute path to the certificate directory, it must have valid certificates containing the IP address or hostname for the CockroachDB server.
-
Append cluster CRDB parameters Check with box if the cluster configuration parameters are applicable for the node. Additional Node Configuration Parameters Additional CockroachDB configuration parameters to start the node.
-
Then click Next to proceed further.
-
-
-
-
Provide the details for dSource Name and Target group on the dSource configuration page and click Next.
-
On the Data management page, select the following and click Next.
-
Staging Environment: This will be your staging host where source config was created.
-
User: Database OS user with required privileges for linking the dataset.
-
On the next screens, configure a policy, hooks, and review the configuration, then click on Next button to view the summary.
-
-
Click the Submit button which will initiate the linking process
- Once dSource is created successfully, you can review the datasets on Manage > Datasets > dSource Name.