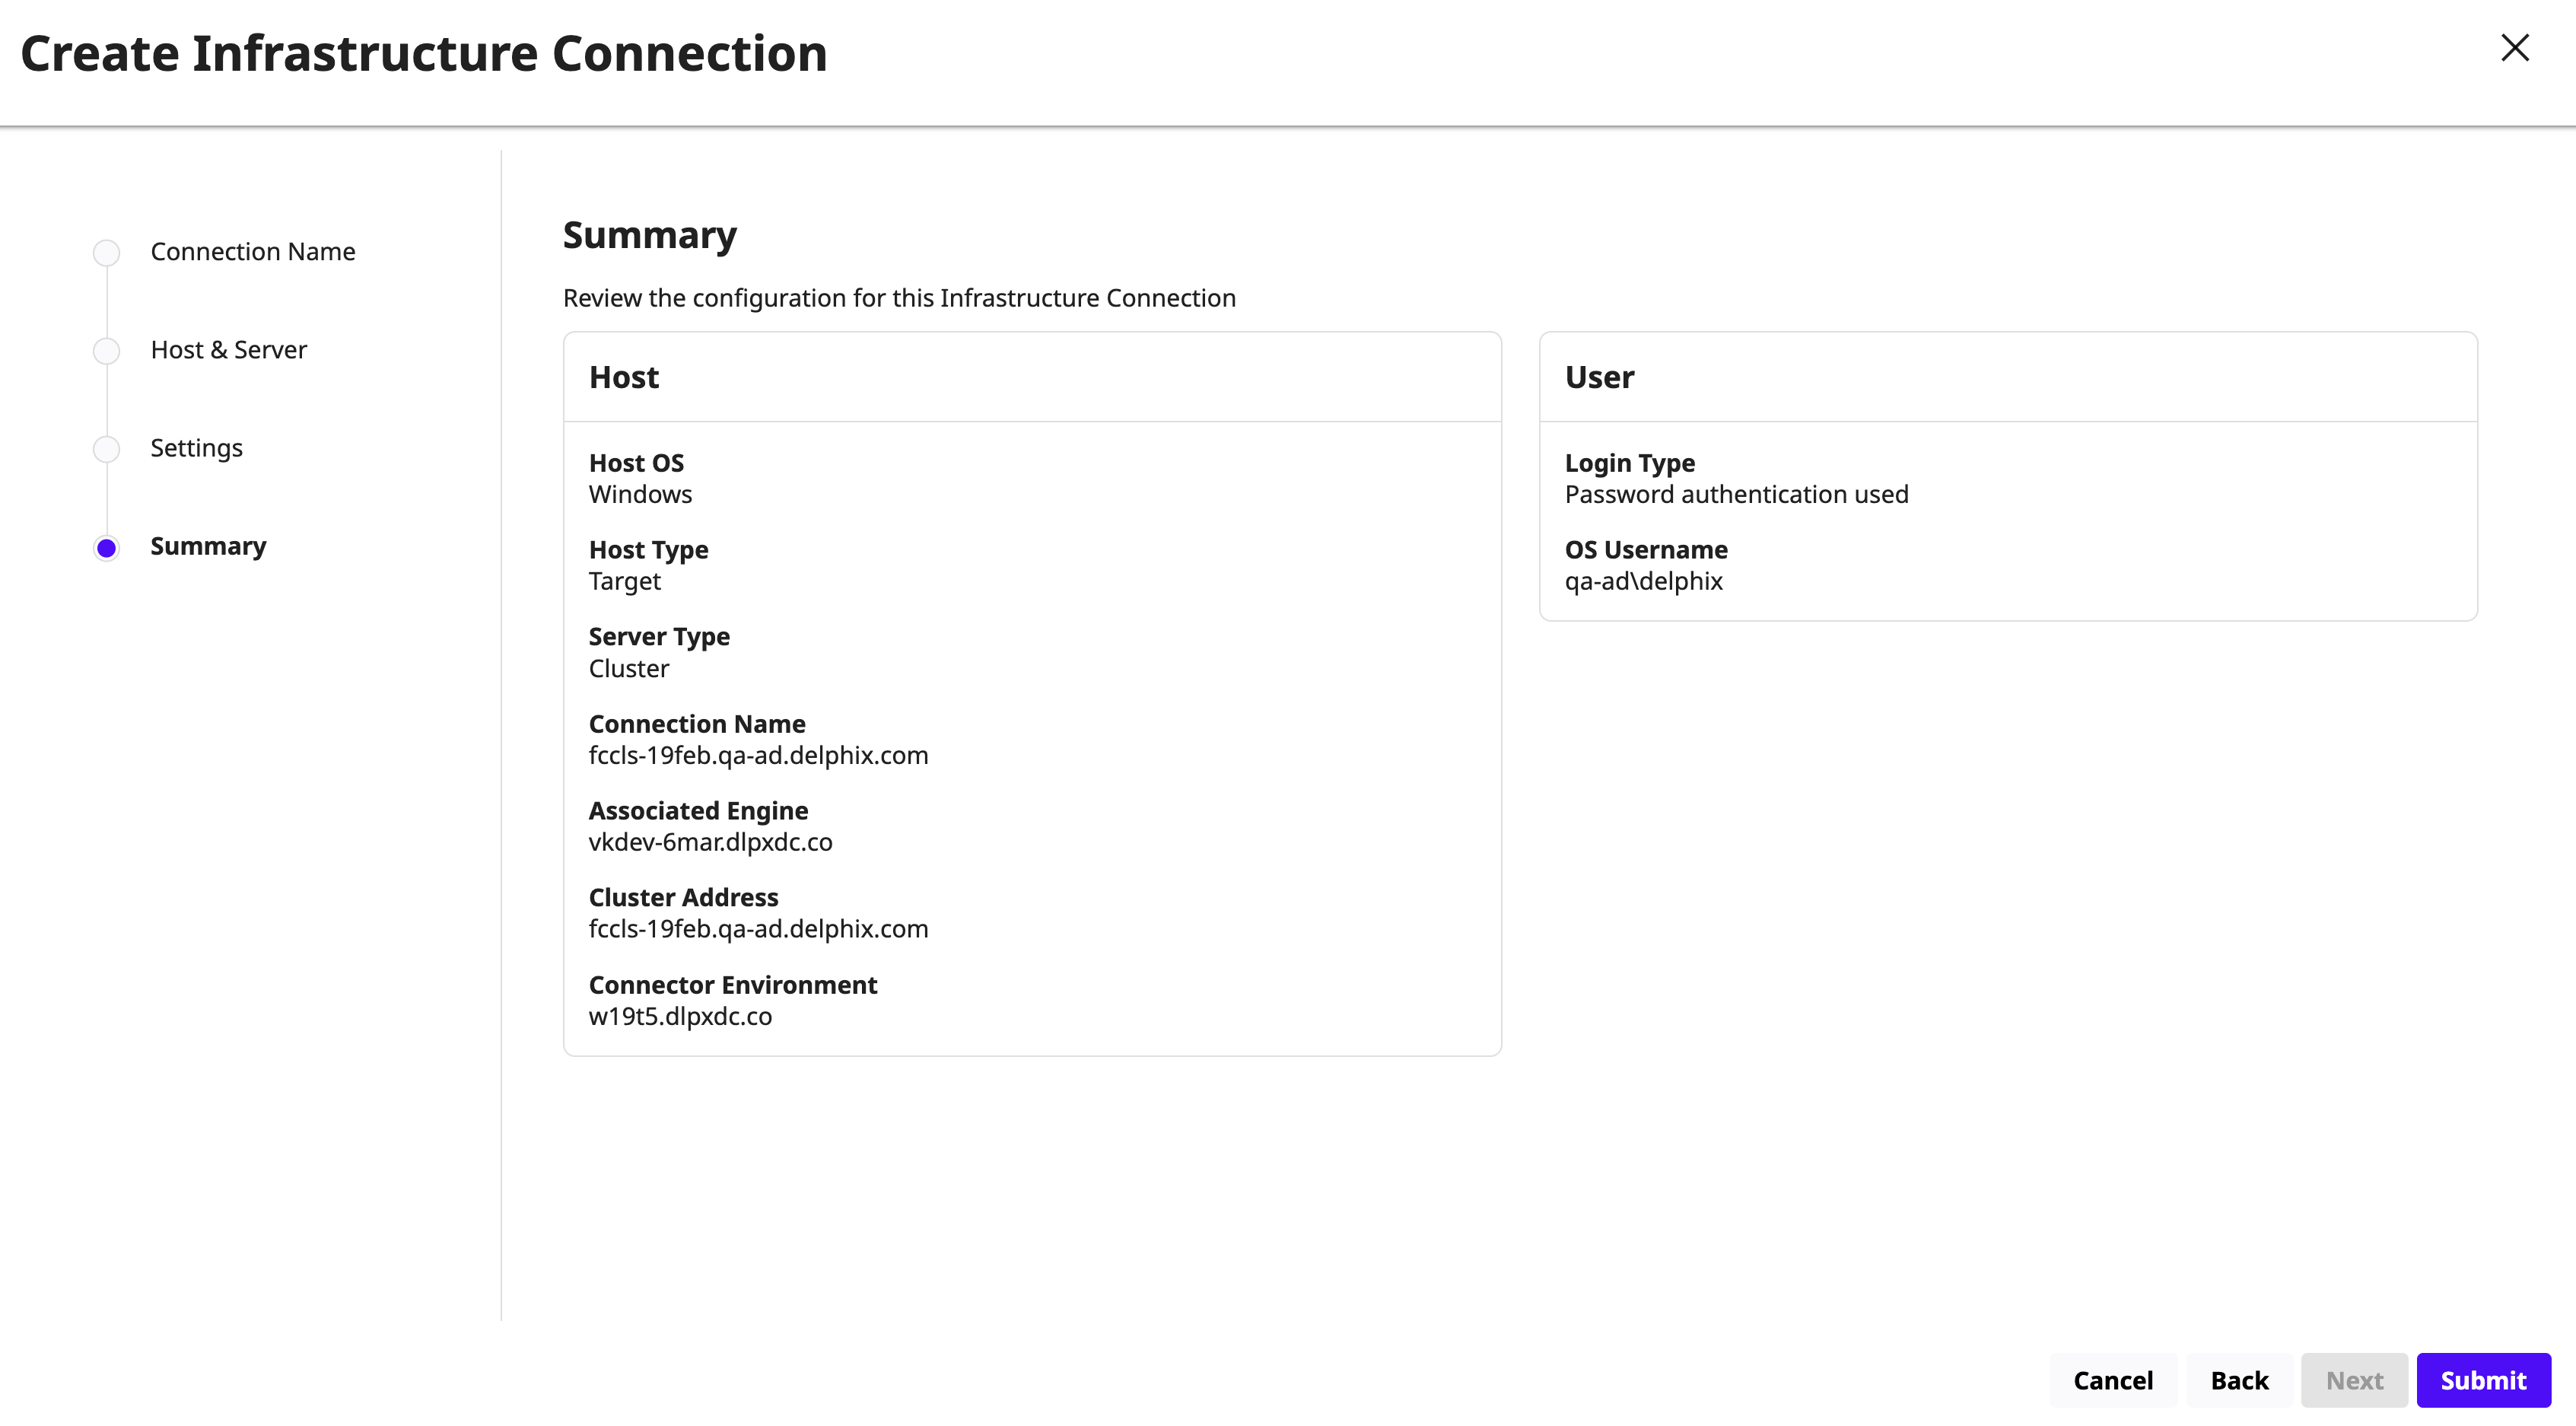
To add a Windows target standalone environment in DCT, complete the following steps:
-
Log in to the DCT instance.
-
On the Home page, click + Infrastructure Connections to add a Windows target environment.
-
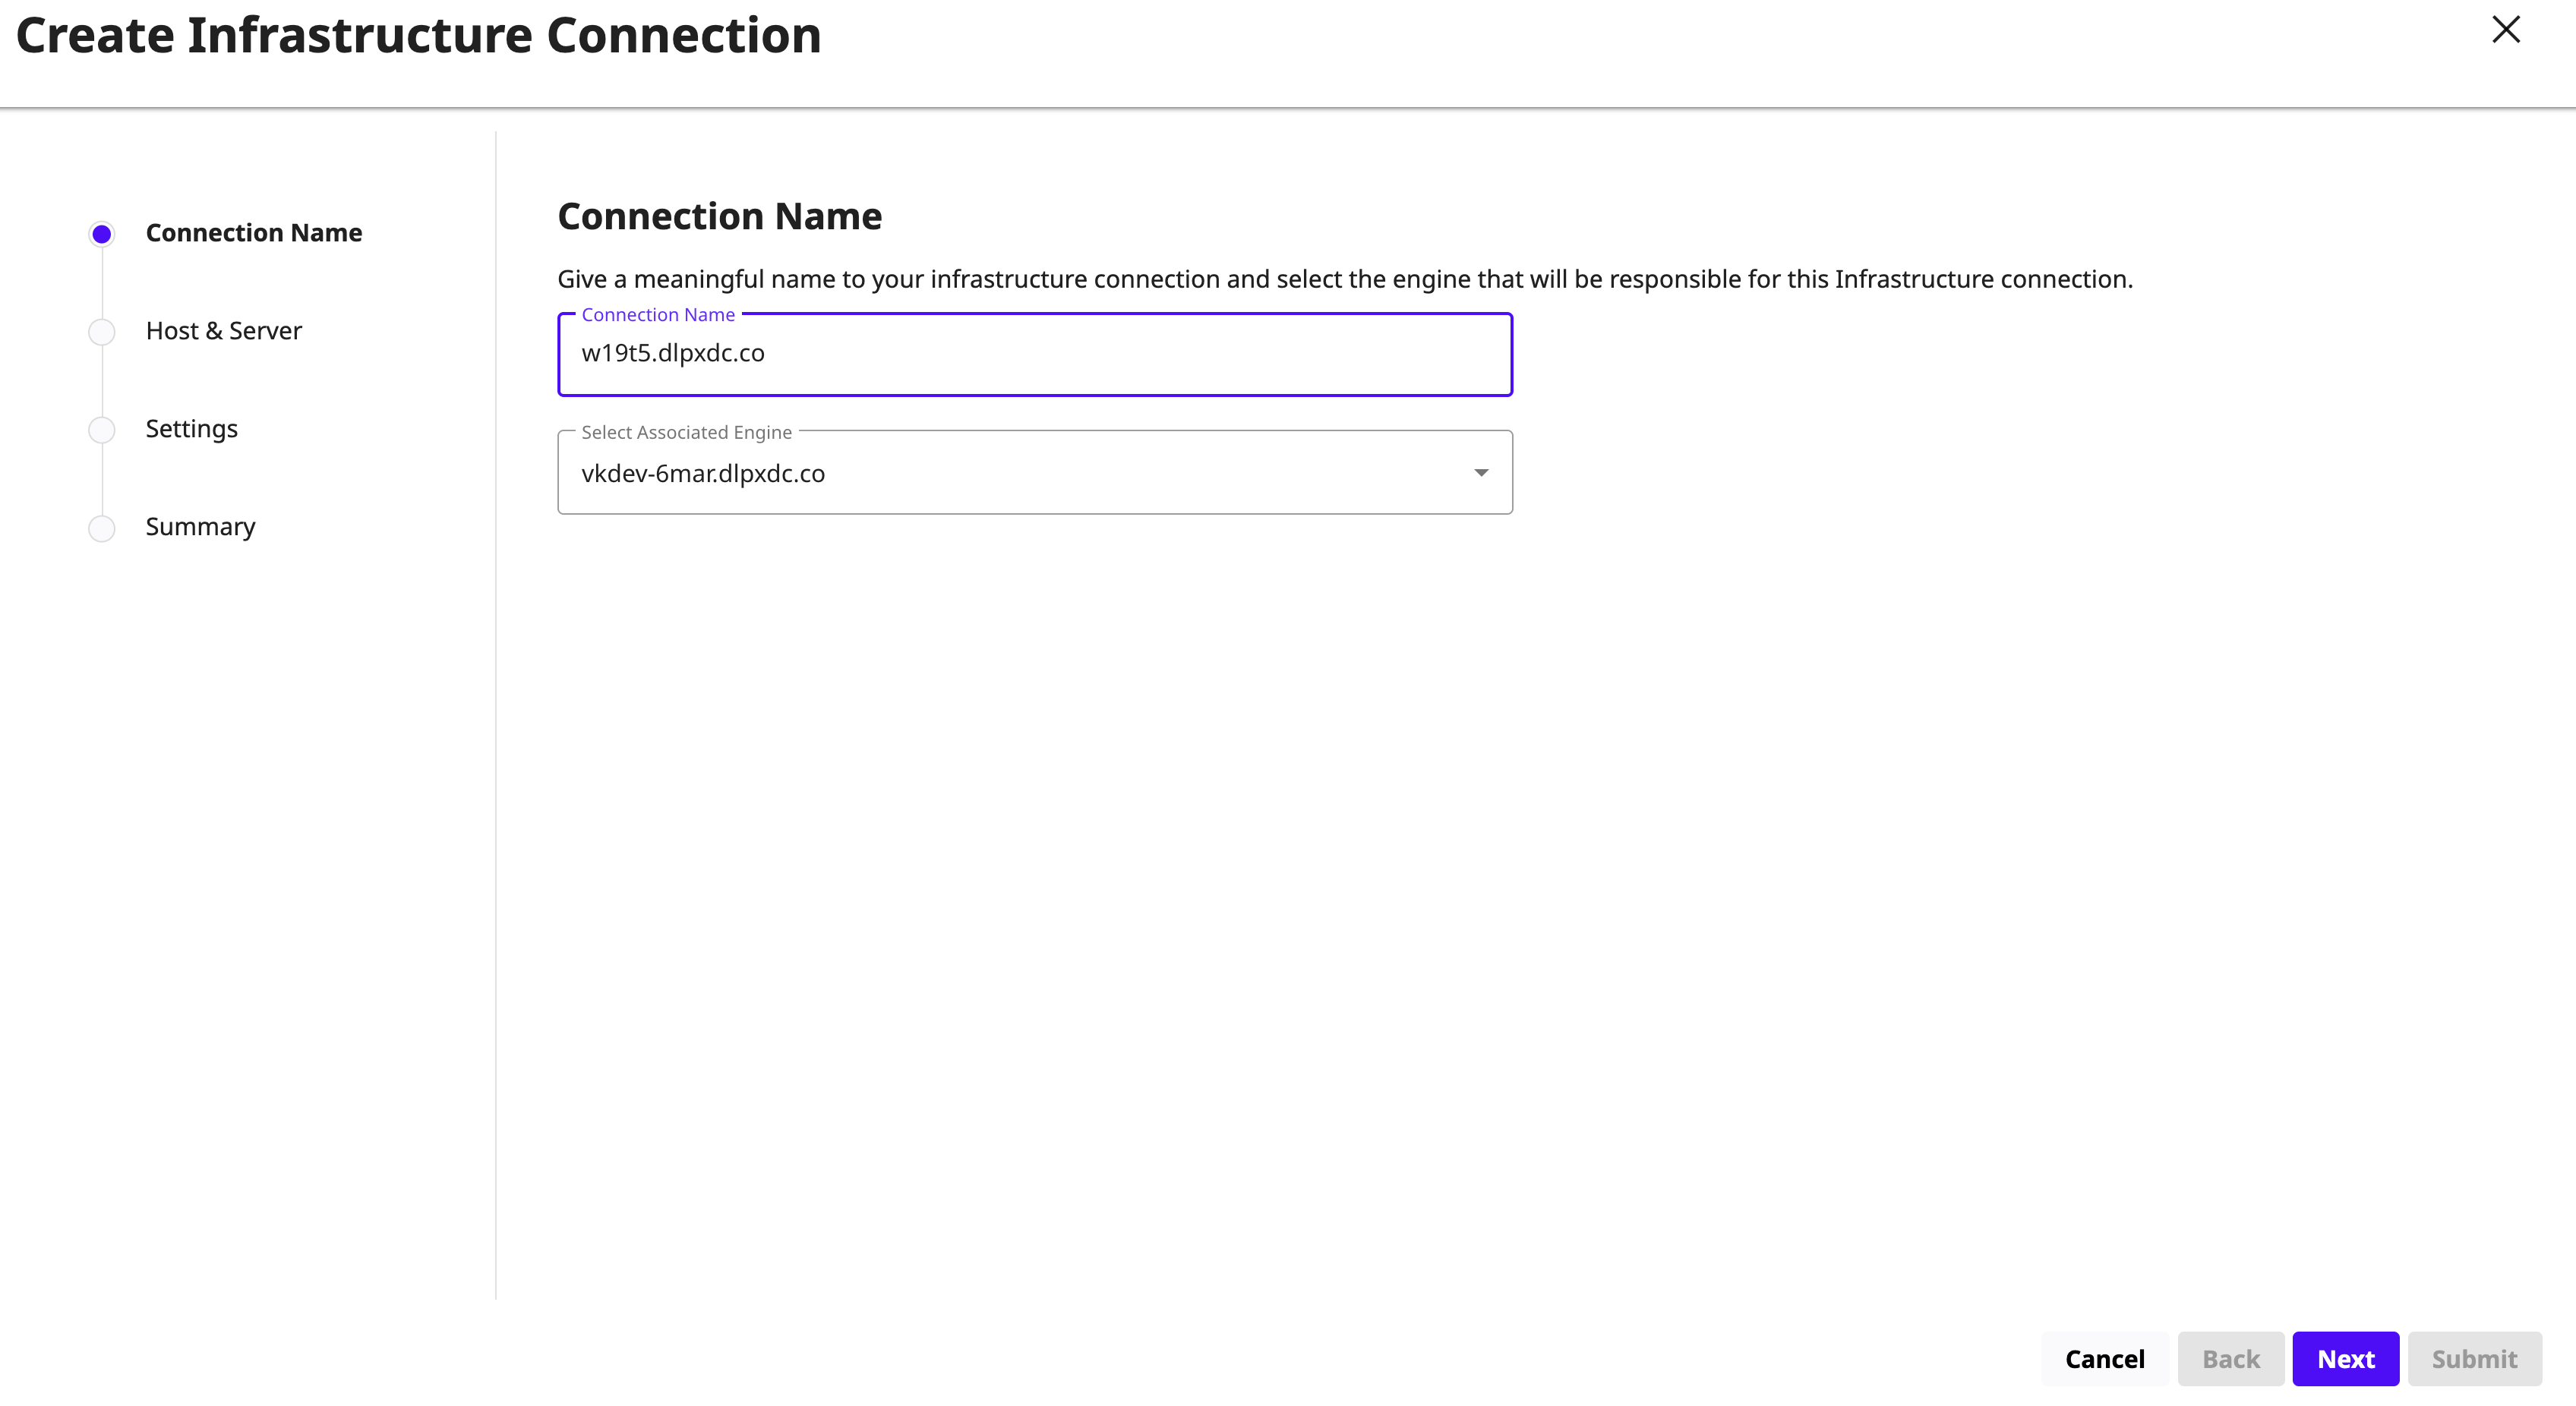
On the Create Infrastructure Connection page, select the previously added Continuous Data Engine.
-
Enter a name for the Windows target connection.
-
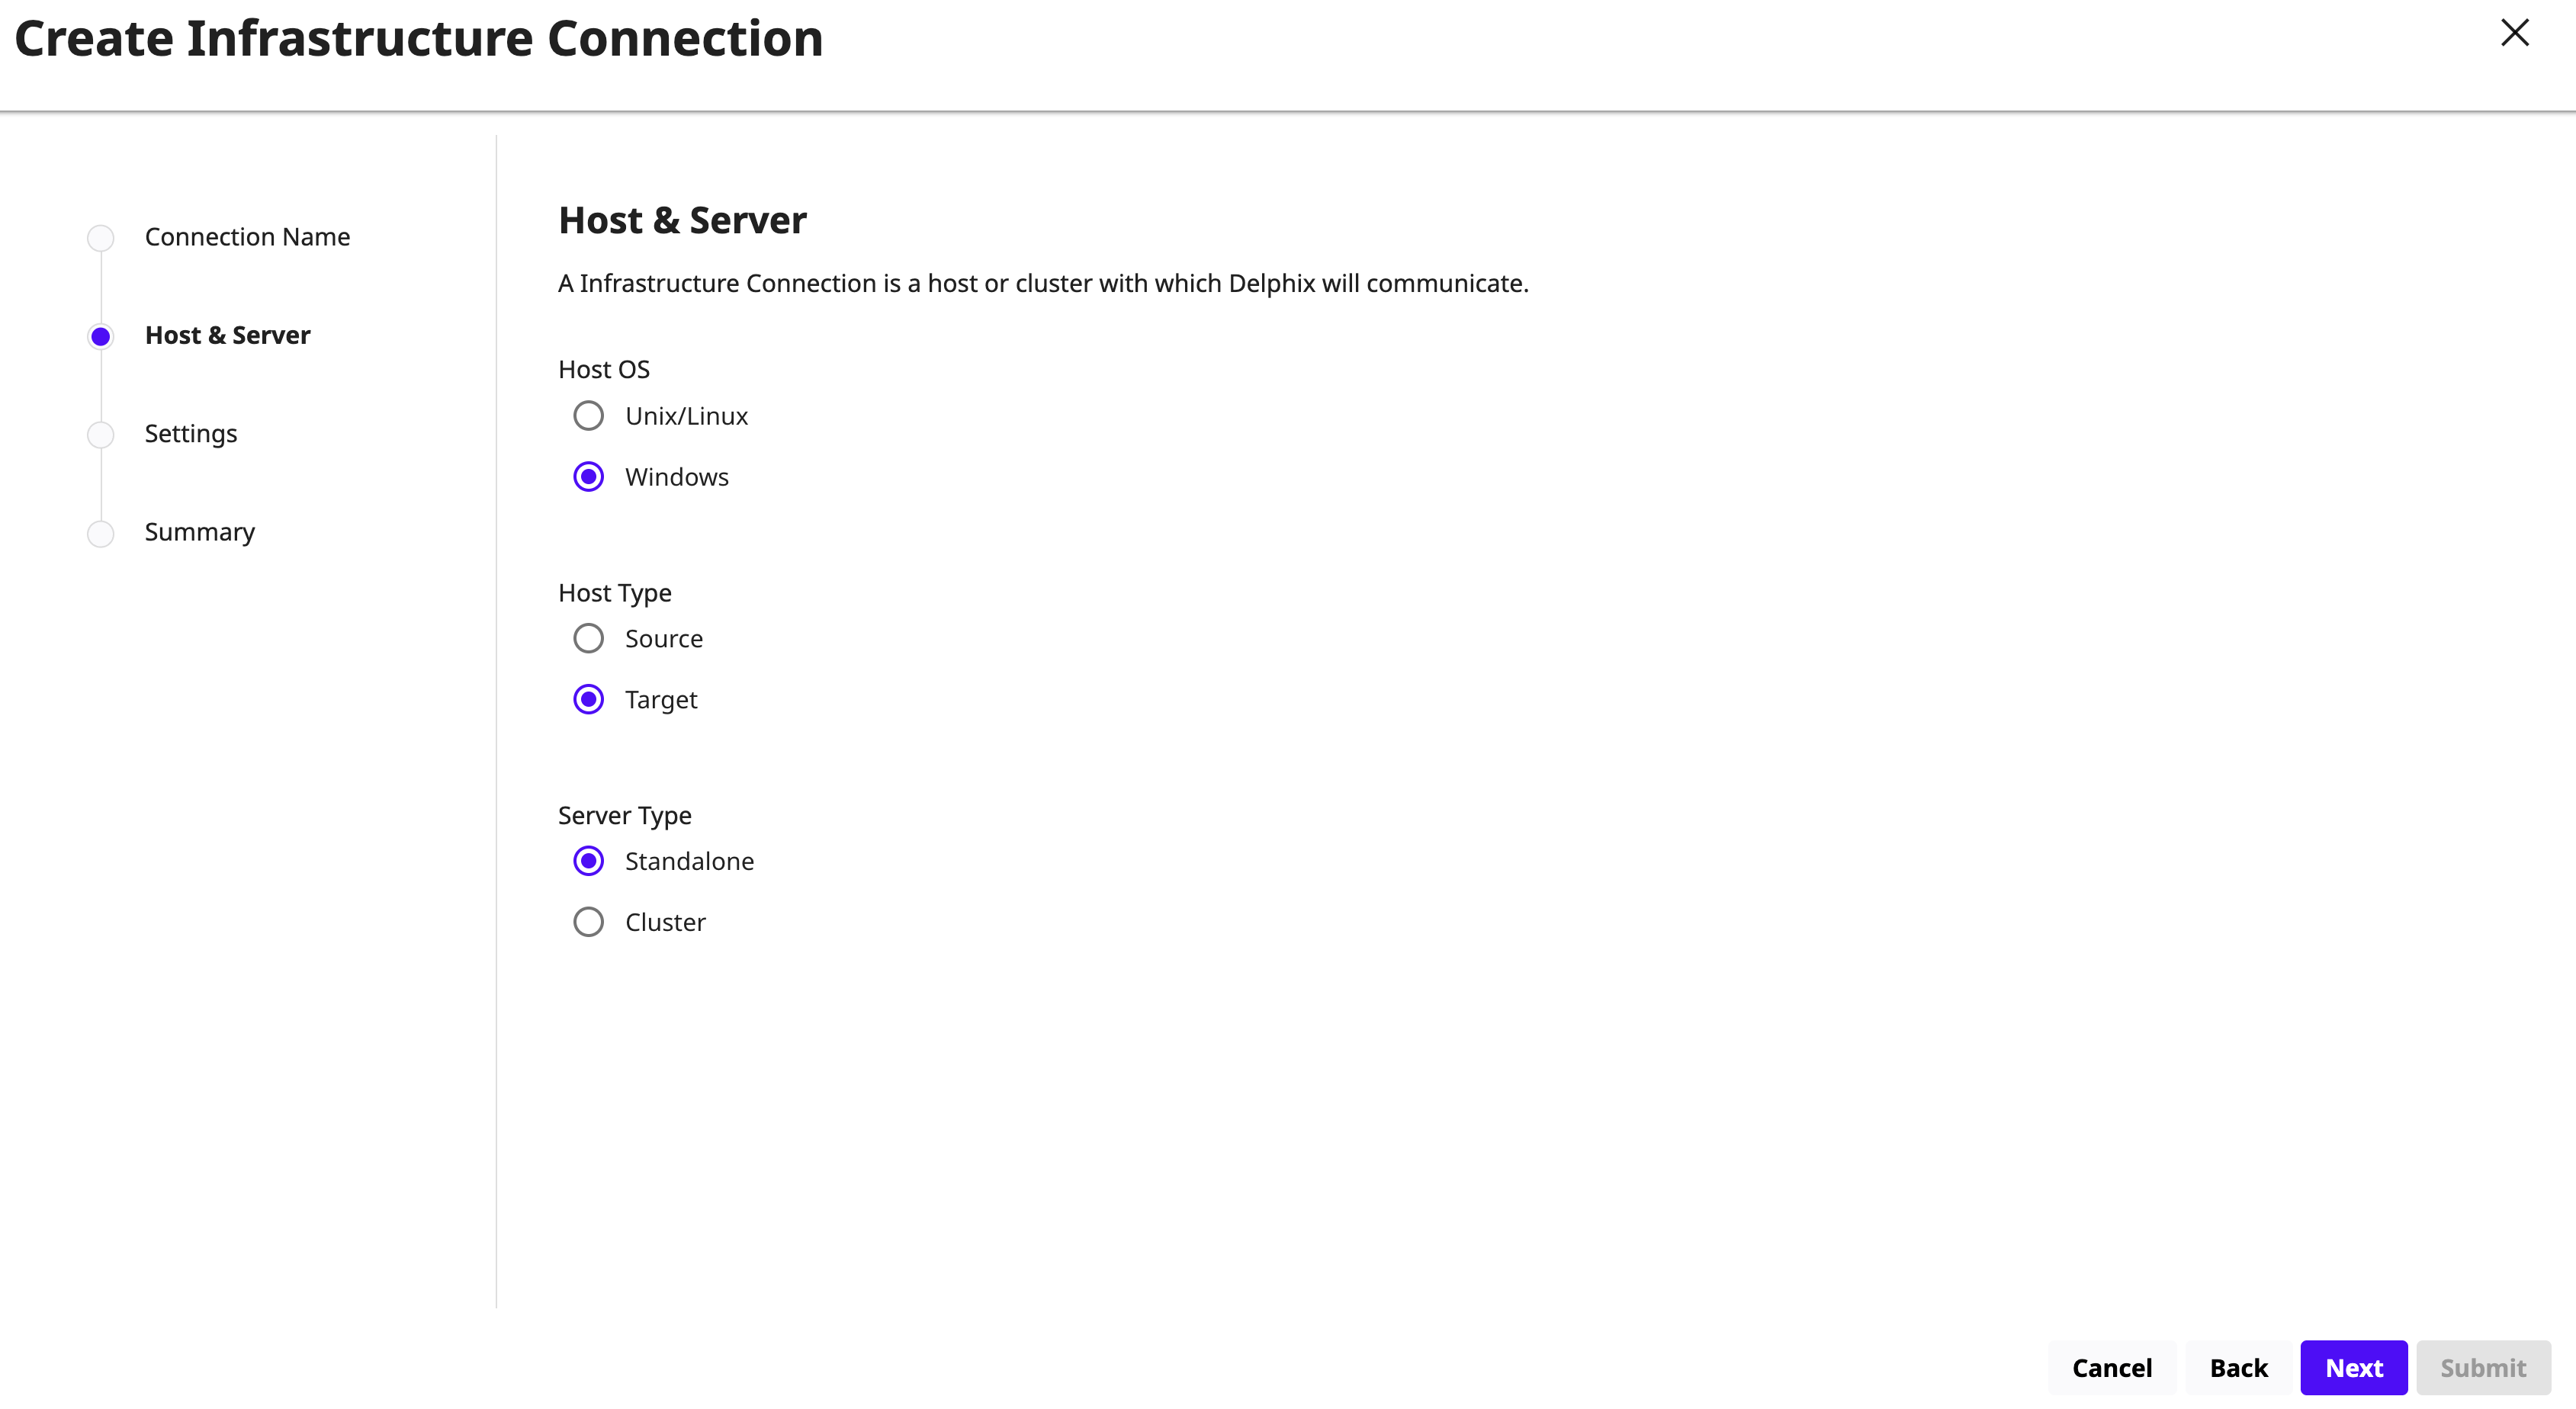
Click Next. On the Host and Server tab, select the following:
-
Host OS: Windows
-
Host Type: Target
-
Server Type: Standalone
-
Click Next. On the Settings tab, click the download link for the Delphix Connector installer. The installer downloads to your local machine.
-
On the Windows machine you want to use as a target, run the Delphix Connector installer. Click Next on each screen to proceed through the installation wizard.
The installer runs only on 64‑bit Windows systems. 32‑bit systems are not supported.
-
For Connector Configuration, ensure that no firewall blocks traffic to the port used by the Delphix Connector service.
-
For Select Installation Folder, accept the default folder or click Browse to choose another location.
-
On the final Confirm Installation dialog, click Next to complete the installation, and then click Close to exit the installer.
-
Return to the Delphix Management application.
-
Enter the Host Address, Delphix Connector Port, OS Username, and OS Password for the target environment.
To provide your own Oracle Java, select Provide my own JDK.
Advanced Options: Select this option to configure the Delphix Session Protocol (DSP).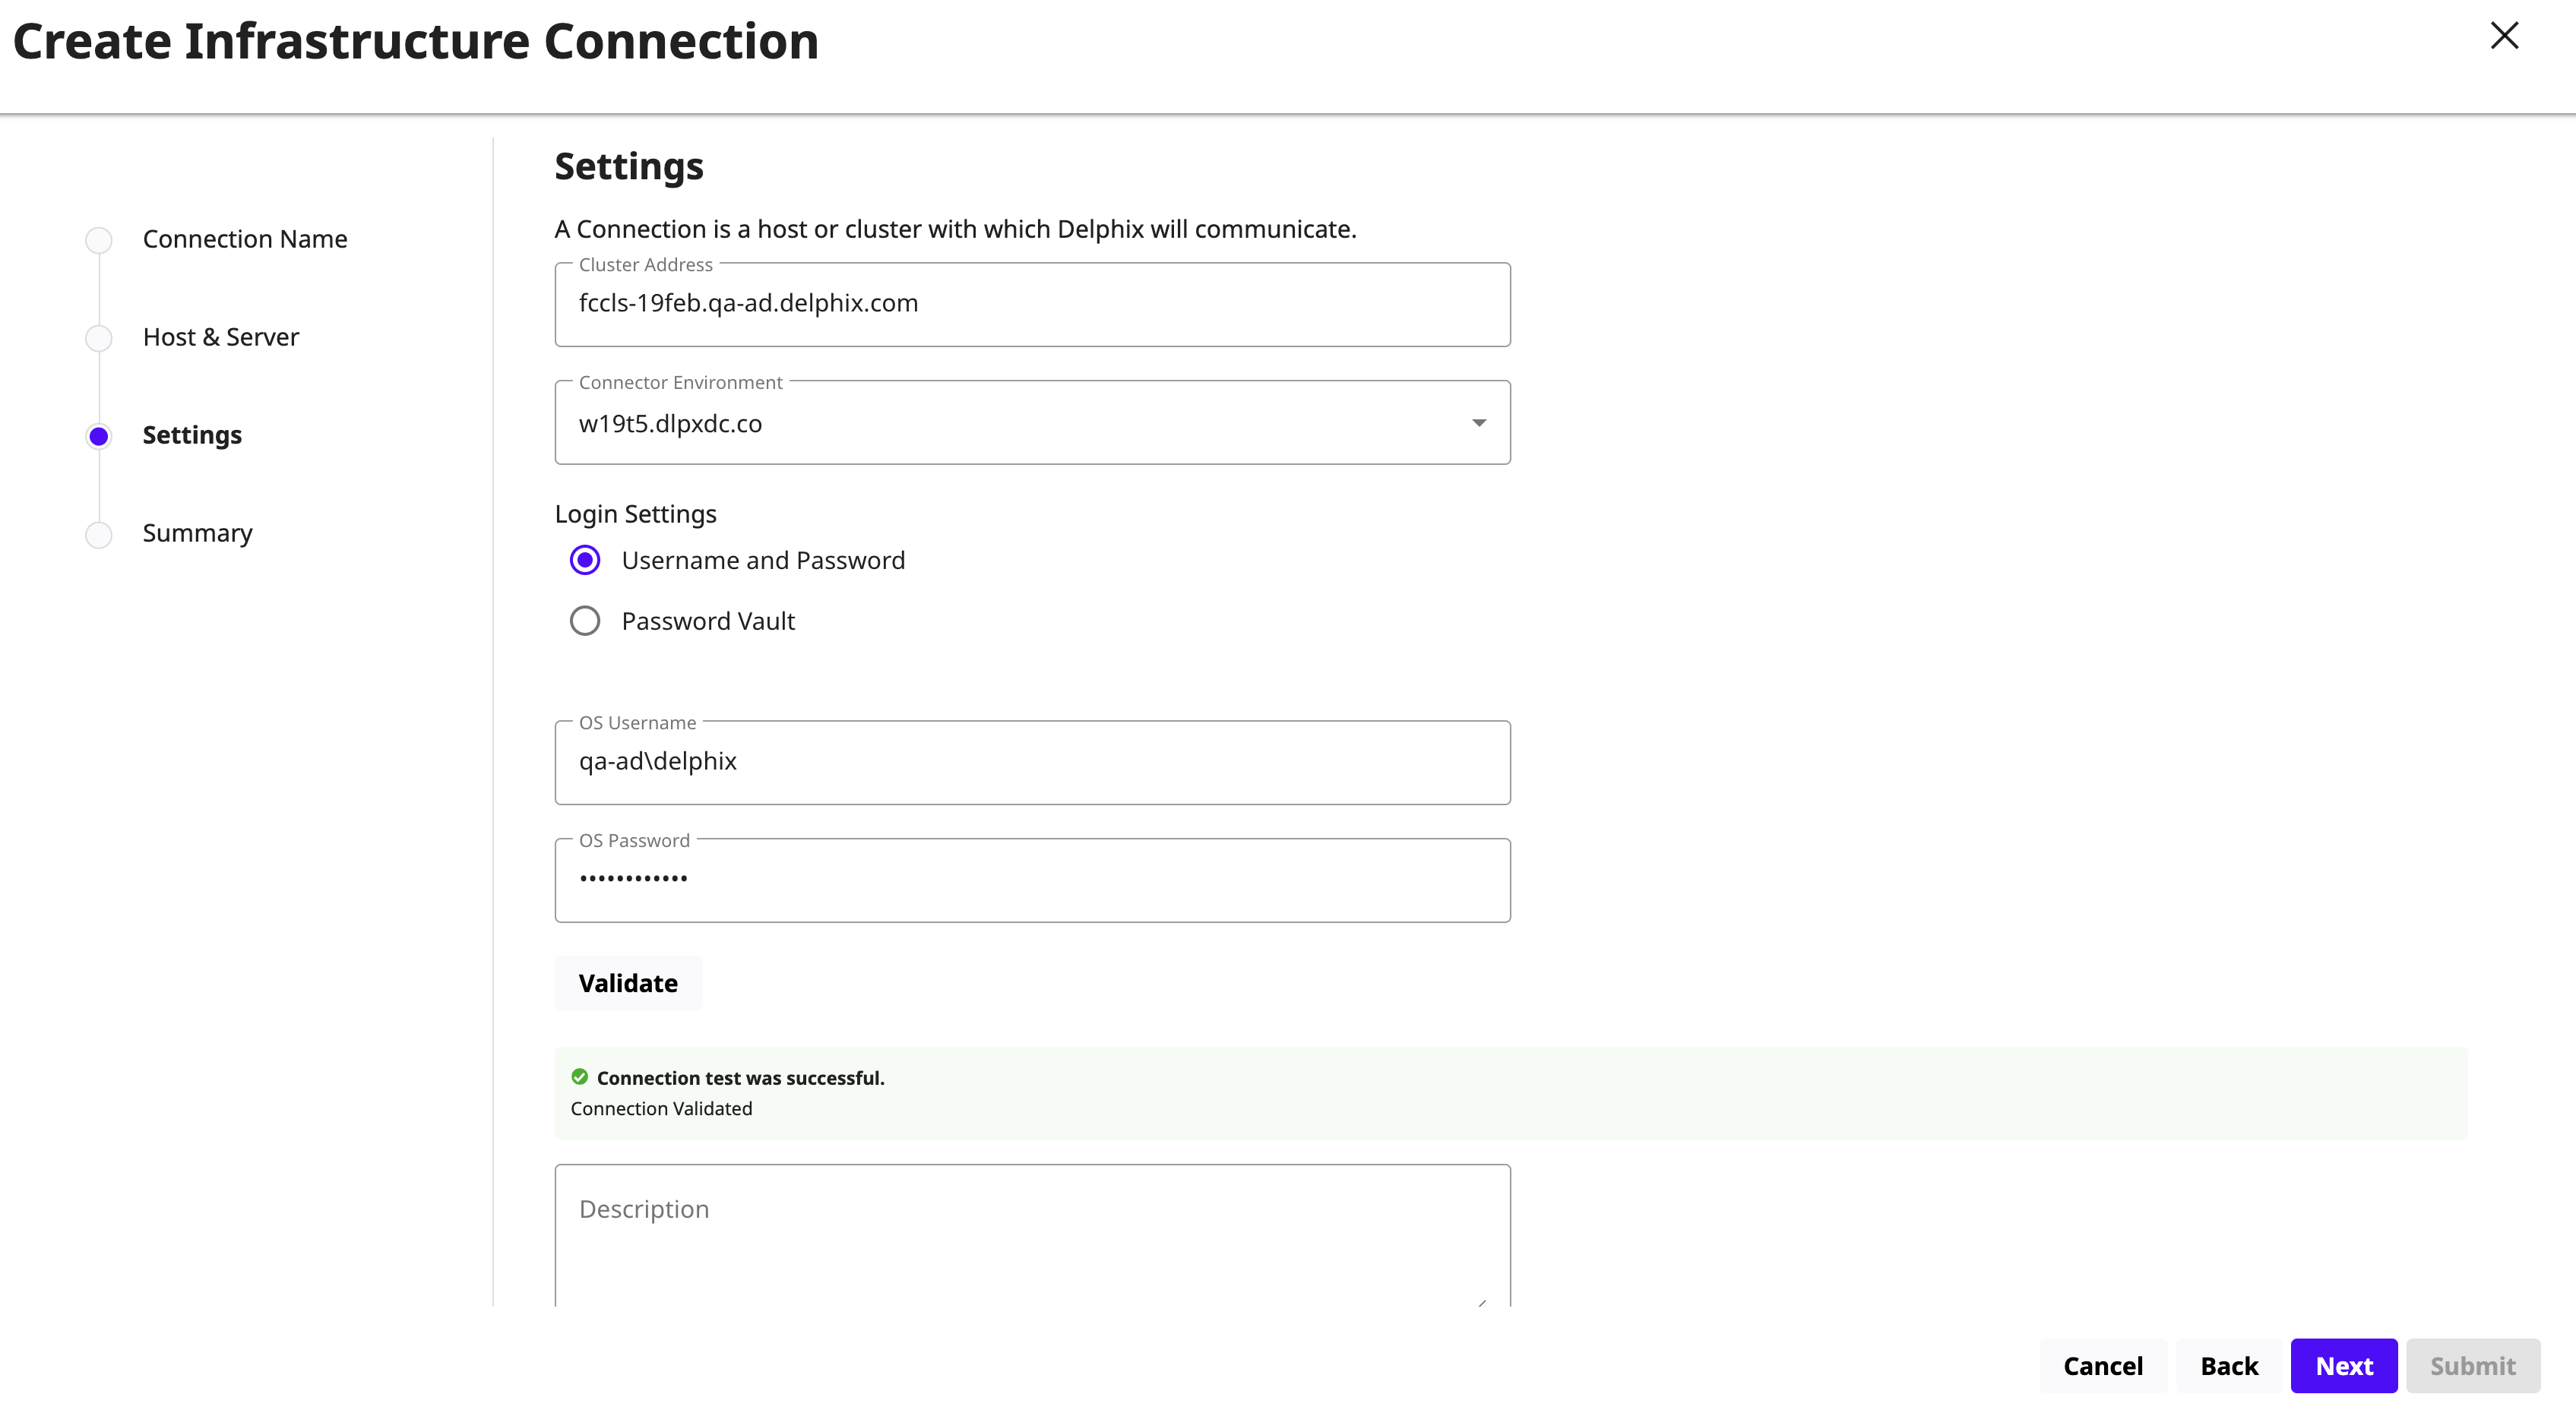
-
(Optional) Once the connection is validated, click Next to enter the absolute JDK path which is installed on the target host environment. If no JDK path is specified, the OpenJRE bundled with the Delphix Connector will be used by default.
-
Review the Windows target environment details and click Submit. DCT discovers the Windows target standalone environment on the associated engine.