
Action required: The Continuous Data UI, API, and CLI are scheduled for end of life. Review the latest migration guidance and start planning your transition to Data Control Tower.
On new engine installations of 2026.5.0.0 and later, the Admin UI opens directly to the Performance Dashboard, and the Manage, Resources, and System menus are unavailable. Engines upgraded from an earlier version keep full Admin UI access. This restriction cannot be changed by customers; contact Delphix Support if you need it lifted temporarily.
Learn more about the Continuous Data end-of-life announcement.
This section outlines the steps to create custom policies using `cron` expressions for specific database objects or groups.
Initiation: Custom policies are created by modifying an existing policy tied to a database object. This can be done during the object’s initial creation or later through the Policy Management screen. For guidance on creating custom policies for dSources and VDBs during linking and provisioning, refer to the respective topics for each data platform.
Scheduling options: Remember, policies can be set using the Schedule date picker, by specifying an Interval, or by choosing ‘Custom’ to input a Quartz cron expression.
| Requirement | Quartz Cron |
|---|---|
| Daily | 0 0 0 * * ?
|
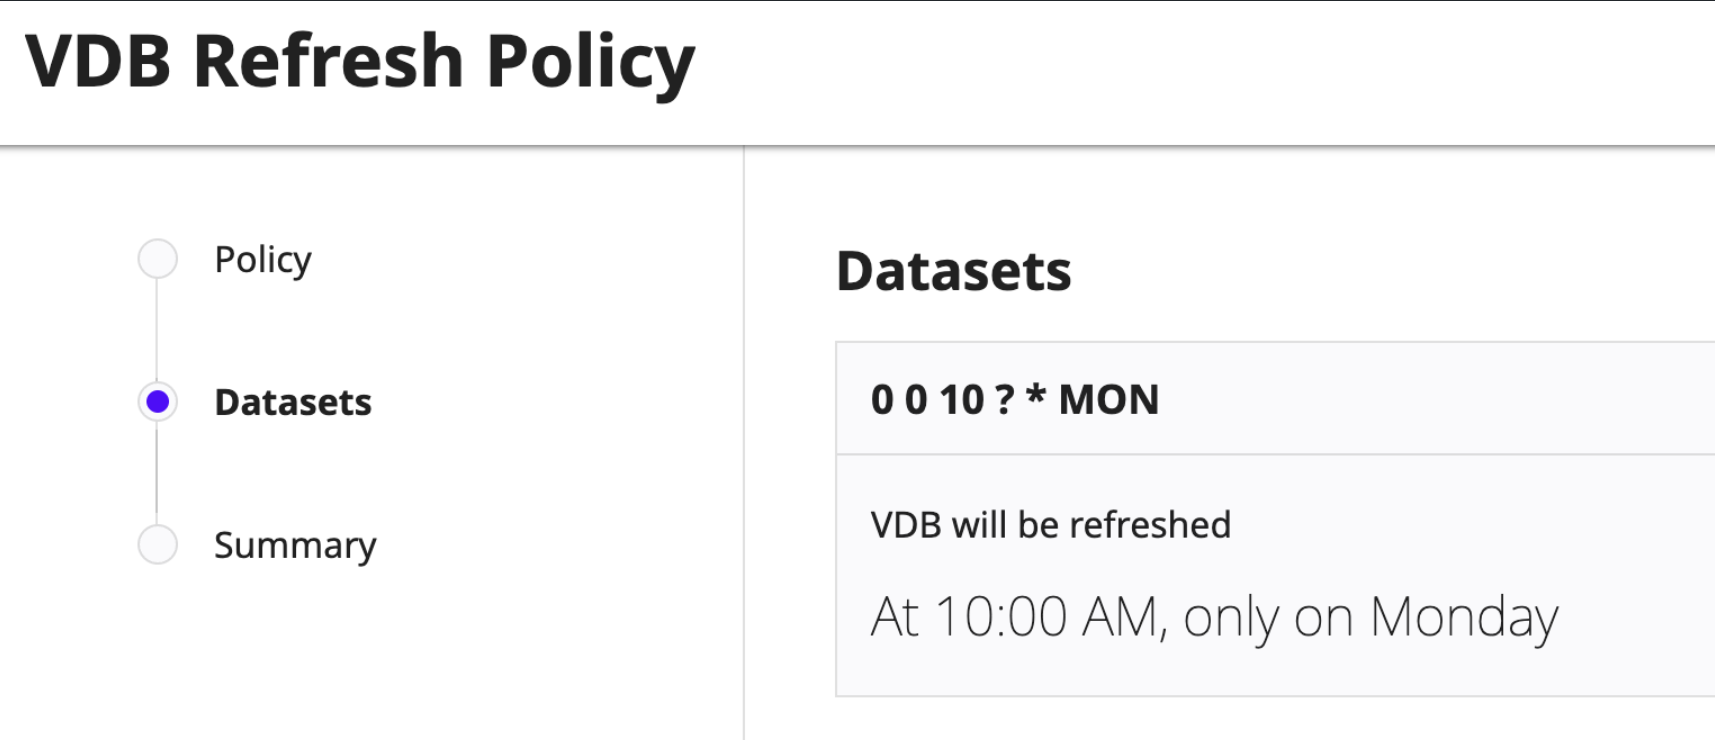
| Weekly (Mon) | 0 0 10 ? * MON
|
| Monthly (1st) | 0 0 0 1 * ?
|
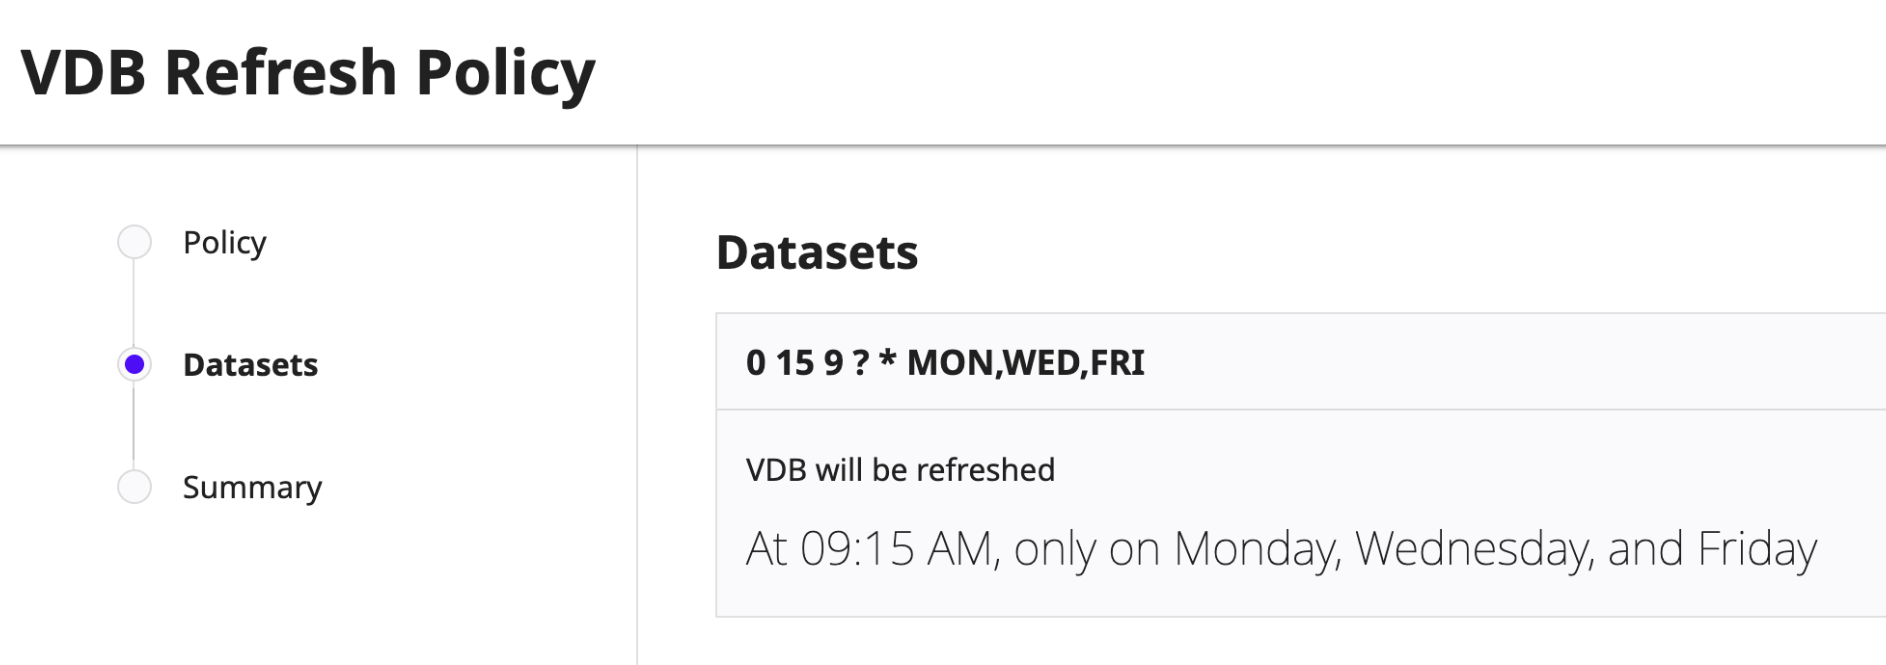
| Specific weekdays | 0 15 9 ? * MON,WED, FRI
|
Cron Example 1: Weekly on every Monday
Cron Example 2: Weekly on every Monday, Wednesday and Friday
Procedure
-
Log in to the Delphix Management application.
-
Click on Manage.
-
Choose Policies.
-
Click on the tab for the object or group you are creating a policy for.
-
In the relevant tab, click the Add button. For instance, to create a new VDB Snapshot policy:
-
Go to the VDB snapshot tab.
-
Click on + VDB snapshot.
-
-
Enter a Name for your policy.
-
Choose a Time Zone (by default, the system time zone is selected if none is specified).
-
Set a Timeout to determine how long a job should run before being terminated if not completed.
-
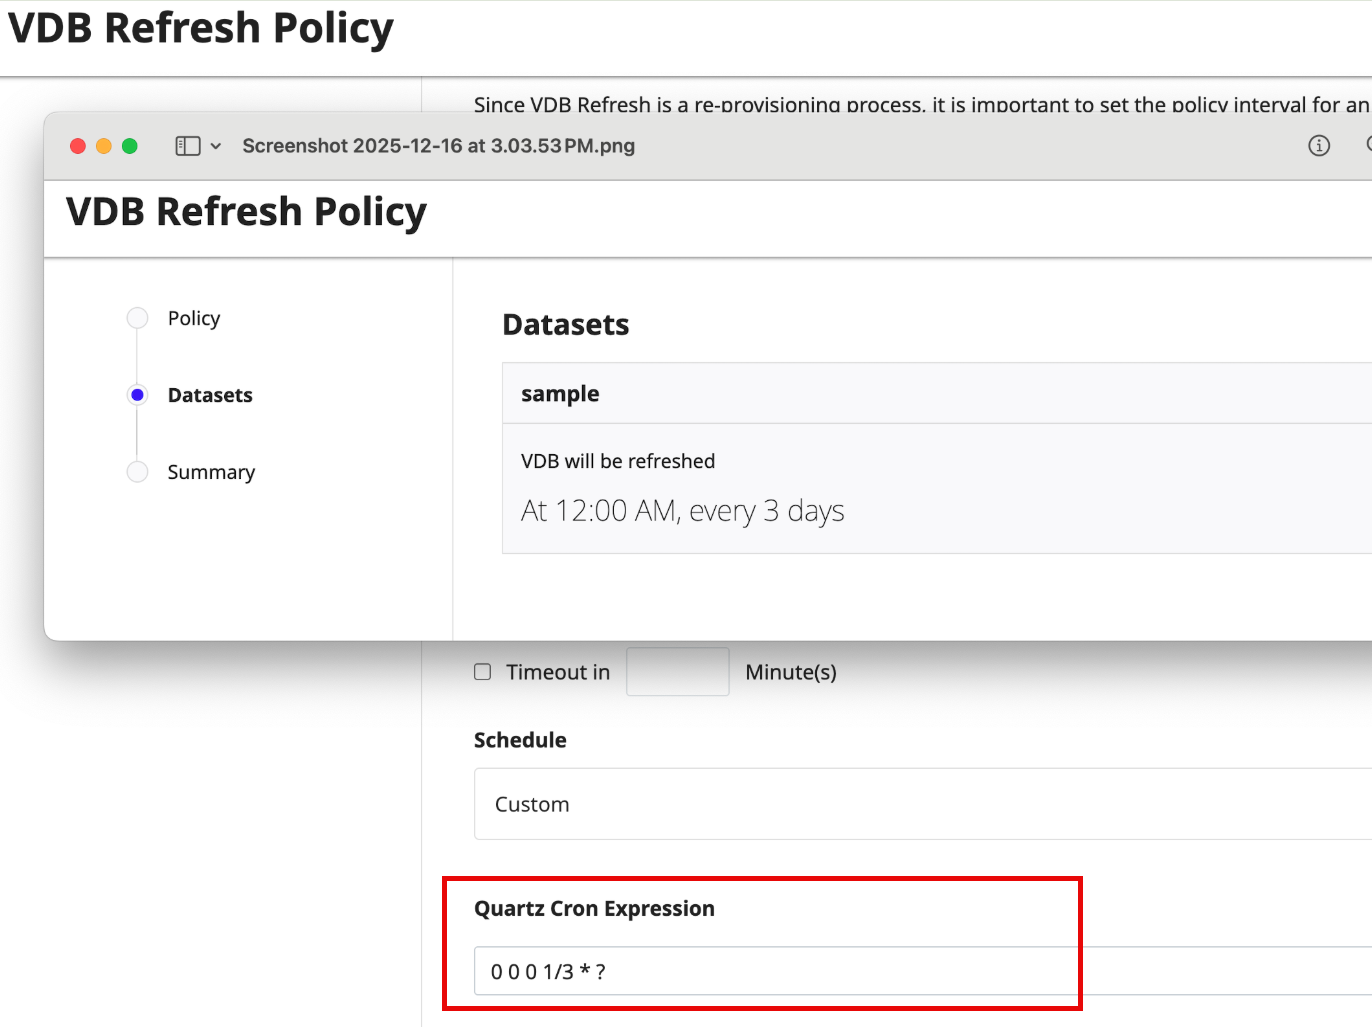
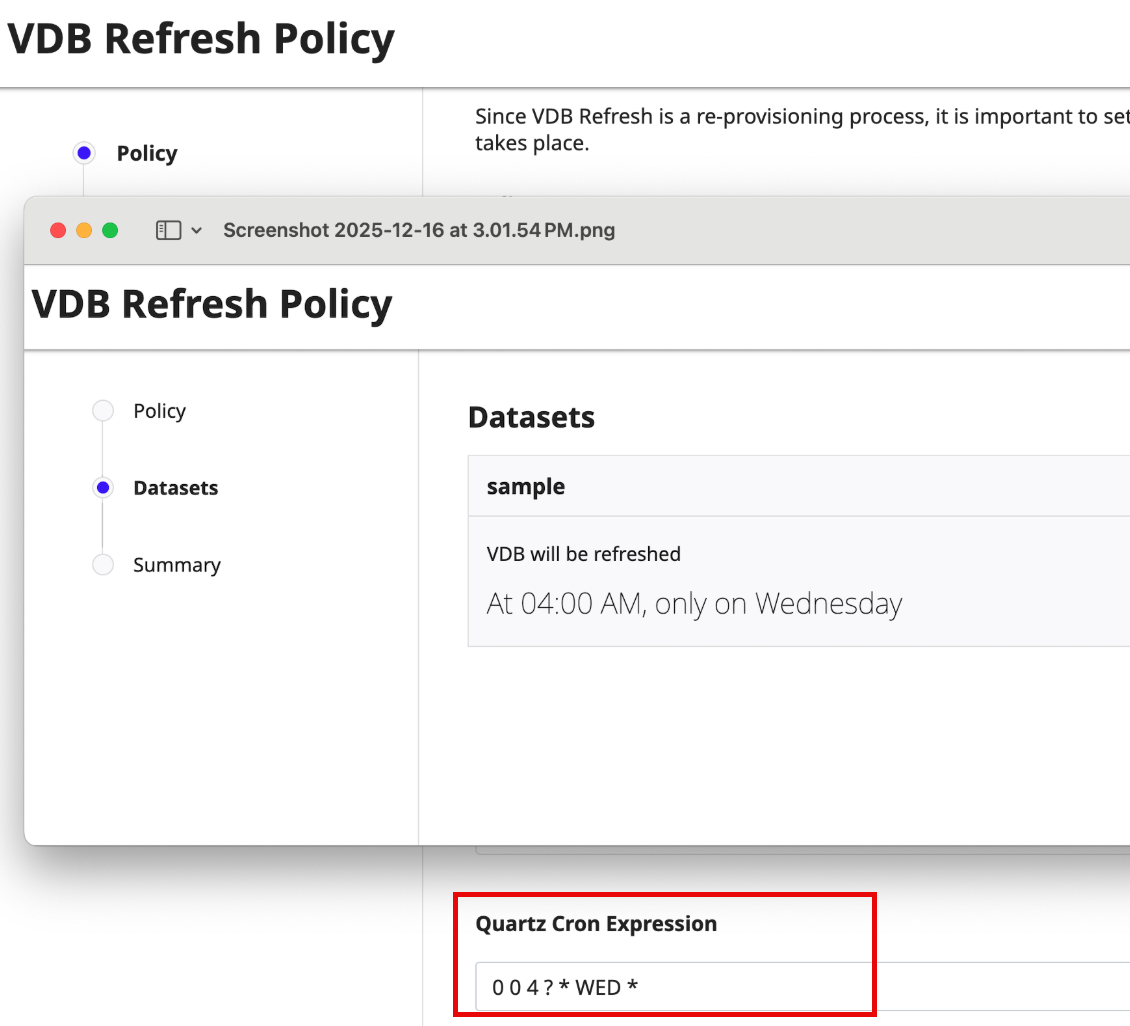
Pick a Schedule for the policy.
Example 1:
Example 2:
-
Click Next and select the object(s) to which this policy will apply.
-
Review your settings and click Submit to finalize the policy creation.